
Understanding Cold Lamination in Modern Graphics Protection
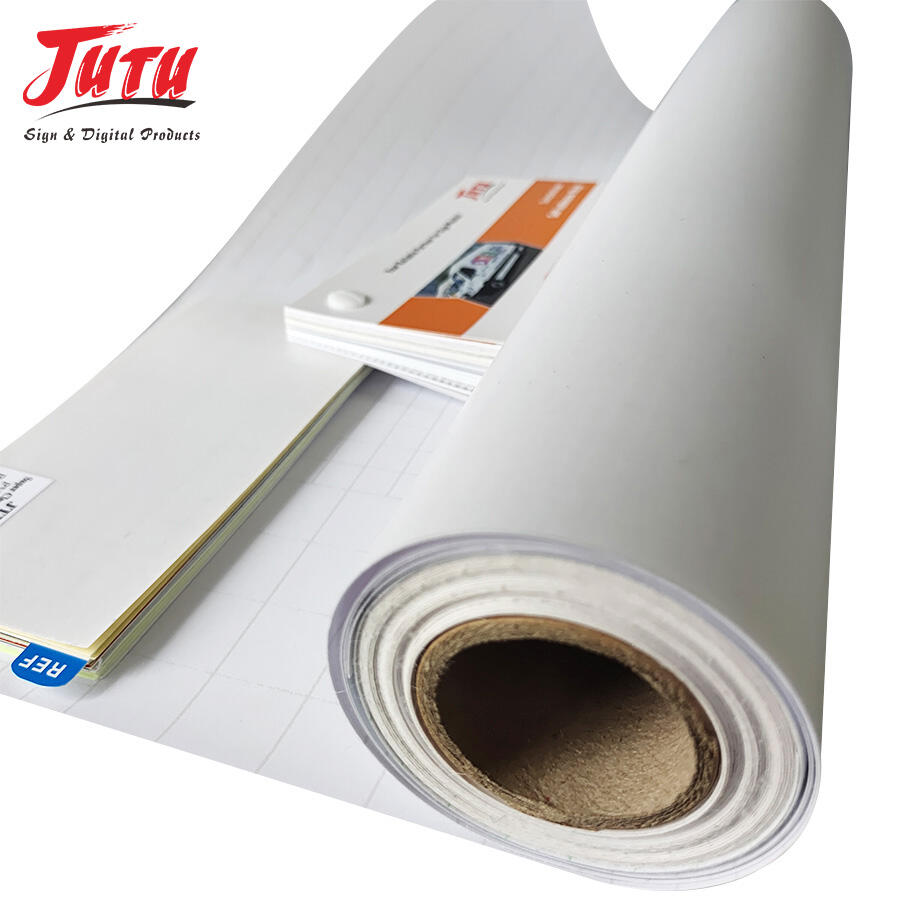
Cold lamination has become an essential process in the graphics and printing industry, particularly when working with colored vinyl and other printed materials. This protective technique not only enhances the visual appeal of prints but also provides crucial durability for both indoor and outdoor applications. While the process might seem straightforward, many professionals encounter challenges that can impact the final quality of their projects.
The increasing popularity of colored vinyl installations has made proper lamination techniques more critical than ever. Whether you're working on vehicle wraps, wall graphics, or retail displays, understanding the nuances of cold lamination can mean the difference between a professional finish and a costly mistake.
Essential Preparation Steps for Successful Lamination
Environmental Conditions and Material Storage
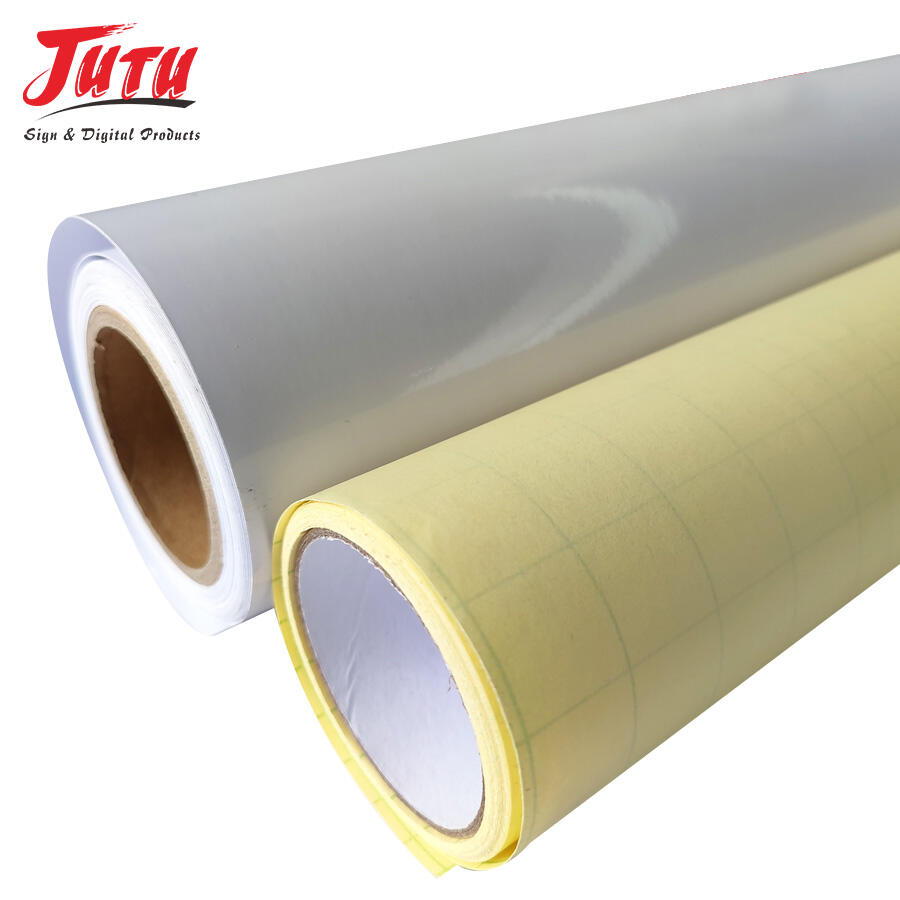
One of the most overlooked aspects of cold lamination is the impact of environmental conditions. When working with colored vinyl and lamination films, temperature and humidity play crucial roles. The ideal temperature range for lamination should be between 65-75°F (18-24°C), with relative humidity between 45-55%. Storing materials in improper conditions can lead to tunneling, bubbling, or adhesion failures.
Materials should be acclimated in the same environment for at least 24 hours before lamination. This includes both the colored vinyl and the lamination film itself. Proper storage means keeping rolls horizontal and avoiding exposure to extreme temperatures or direct sunlight.
Surface Cleaning and Preparation
Before beginning the lamination process, ensuring both the substrate and equipment are immaculately clean is paramount. Any dust, debris, or oils on the surface of colored vinyl can create visible imperfections once laminated. Use lint-free cloths and appropriate cleaning solutions designed specifically for vinyl materials.
The laminator rollers must also be cleaned regularly to prevent transfer of debris onto the materials. Even minor contamination can result in visible spots or streaks in the final product, potentially requiring costly reprints and additional material waste.
Technical Aspects of Cold Lamination
Pressure and Speed Control
Achieving the right balance of pressure and speed during lamination is crucial for optimal results. When working with colored vinyl, excessive pressure can cause distortion or stretching, while insufficient pressure may lead to poor adhesion or silvering. Most professional laminators recommend starting with medium pressure and adjusting based on results.
The feed rate should be consistent and appropriate for the material thickness. Running too fast can trap air bubbles, while going too slow might cause the adhesive to grab unevenly. Finding the sweet spot requires experience and careful attention to the specific requirements of different colored vinyl types.
Tension Management
Proper tension control of both the lamination film and colored vinyl is essential for preventing wrinkles and tunneling. Uneven tension can result in curl or waves in the finished product. The key is maintaining consistent, even tension throughout the entire process, particularly when working with wider materials.
Different materials require different tension settings. Thinner colored vinyl materials typically need less tension than thicker ones. Regular calibration of tension control systems helps ensure consistent results across multiple projects.
Common Application Errors and Solutions
Avoiding Air Entrapment
Air bubbles are among the most common issues when laminating colored vinyl. These can occur due to improper technique, wrong pressure settings, or contaminated surfaces. Using a proper squeegee technique and maintaining consistent pressure can help prevent air entrapment. Starting from the center and working outward in smooth, overlapping strokes typically yields the best results.
In cases where bubbles do appear, they should be addressed immediately while the adhesive is still fresh. Some bubbles can be worked out using gentle pressure and a soft squeegee, but prevention is always better than correction.
Edge Lifting and Delamination Prevention
Edge lifting often occurs when insufficient pressure is applied at the material edges or when the wrong type of laminate is used for the application. When working with colored vinyl, it's crucial to ensure complete edge-to-edge coverage and proper pressure application. Trimming should only be done after allowing sufficient time for the adhesive to set.
Using the appropriate laminate for the intended application is crucial. Indoor applications may require different laminates than outdoor uses, and the choice of laminate should match both the substrate and the environmental conditions the finished product will face.
Quality Control and Finishing
Post-Lamination Inspection
After lamination, a thorough inspection of the finished product is essential. Check for any signs of silvering, bubbles, or edge lifting. Good lighting conditions are crucial for spotting imperfections. The surface should be smooth and consistent across the entire piece, with no visible distortion in the colored vinyl beneath.
Document any issues encountered and maintain a quality control log to help identify patterns or recurring problems. This information can be invaluable for improving processes and training new operators.
Proper Storage and Handling
Once laminated, materials need proper handling and storage to maintain their quality. Avoid folding or creasing laminated pieces, and store them either flat or rolled with the image side out. When rolling, use a core diameter appropriate for the materials to prevent tunneling or deformation of the colored vinyl.
Allow sufficient curing time before shipping or installation. While cold lamination creates an immediate bond, the adhesive continues to cure for 24-48 hours after application. Proper handling during this period is crucial for optimal results.
Frequently Asked Questions
How Long Should I Wait Before Installing Laminated Colored Vinyl?
It's recommended to wait at least 24 hours after lamination before installation to allow proper curing of the adhesive. This waiting period can extend to 48 hours in cooler or more humid conditions. Rushing the installation before full cure can result in adhesion problems or delamination.
What Temperature Range Is Safe for Outdoor Laminated Graphics?
Most cold-laminated colored vinyl graphics can withstand temperatures from -40°F to 180°F (-40°C to 82°C) once properly cured. However, installation should occur when temperatures are between 50°F and 90°F (10°C to 32°C) for optimal adhesion.
Can I Remove and Reapply Cold Lamination Film?
Cold lamination film is designed for permanent application and cannot be safely removed and reapplied. Attempting to remove the lamination will likely damage both the film and the underlying colored vinyl. If protection needs to be removed or replaced, new materials will be required.