
Achieving a high-end interior look does not have to come with a premium price tag. Decorative vinyl has become one of the most versatile and cost-effective tools available to homeowners, interior designers, and commercial renovators alike. Whether you want to replicate the look of marble, wood grain, brushed metal, or frosted glass, decorative vinyl delivers visual impact at a fraction of the cost of real materials. Understanding how to apply decorative vinyl correctly is the key to making budget upgrades look genuinely luxurious.
The difference between a decorative vinyl project that looks polished and one that looks amateur almost always comes down to preparation, technique, and material quality. Decorative vinyl applied carelessly will bubble, peel, or misalign, undermining the very effect you are trying to create. Applied with care and the right process, decorative vinyl transforms surfaces so convincingly that guests and clients often cannot tell it apart from the real material. This guide walks you through every stage of the decorative vinyl application process so you can achieve professional, luxury-grade results on any budget.
Choosing the Right Decorative Vinyl for Your Surface
Matching Decorative Vinyl Type to the Surface Material
Not all decorative vinyl is created equal, and selecting the correct type for your specific surface is the first critical decision. Decorative vinyl comes in cast, calendered, and self-adhesive varieties, each suited to different substrates and environments. For smooth, flat surfaces such as cabinet doors, wall panels, or furniture tops, a self-adhesive decorative vinyl with a repositionable adhesive backing is ideal. For curved or irregular surfaces, a cast decorative vinyl offers better conformability and will not lift at edges over time.
Consider the environment where the decorative vinyl will be installed. Kitchens and bathrooms demand a decorative vinyl with moisture resistance and a durable topcoat. High-traffic areas such as commercial countertops or elevator interiors require a decorative vinyl with enhanced abrasion resistance. Choosing decorative vinyl that is matched to its environment prevents premature failure and keeps the luxury appearance intact for years.
Selecting Finish and Pattern for a High-End Effect
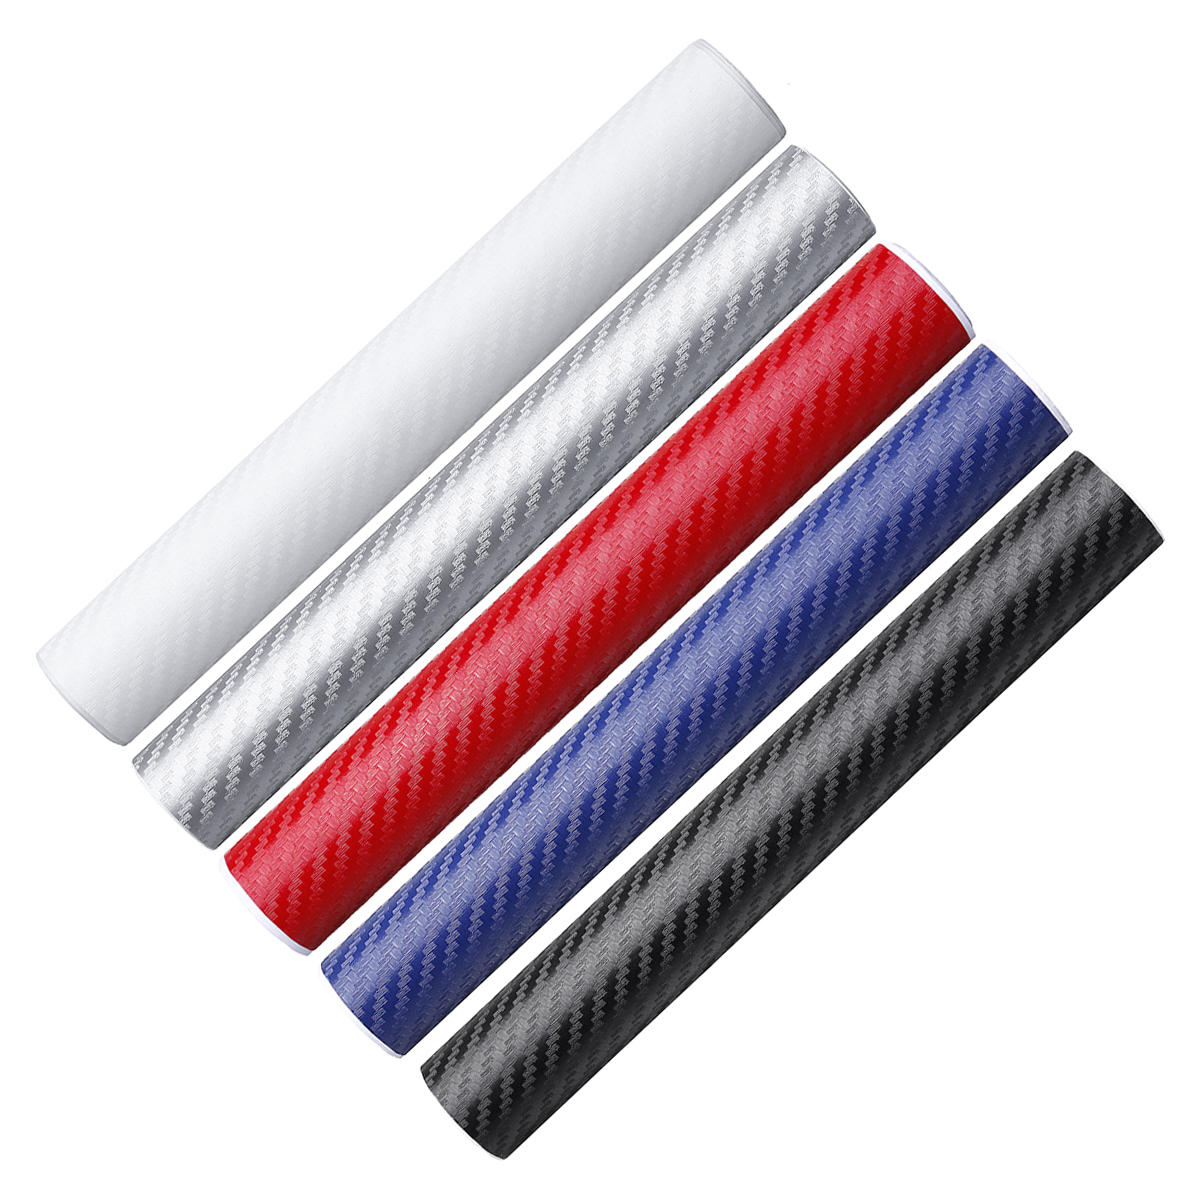
The visual finish of decorative vinyl is what creates the luxury illusion. Marble-effect decorative vinyl, wood-grain decorative vinyl, and metallic decorative vinyl are among the most popular choices for premium interior aesthetics. A satin or matte finish decorative vinyl tends to read as more sophisticated and high-end compared to glossy variants, which can sometimes appear plasticky under certain lighting. Brushed metal decorative vinyl and stone-effect decorative vinyl are particularly effective at elevating furniture, wall features, and architectural details without heavy investment.
Surface Preparation Before Applying Decorative Vinyl
Cleaning and Priming the Application Surface
Proper surface preparation is the single most important factor in a successful decorative vinyl installation. Begin by thoroughly cleaning the surface with a degreaser or isopropyl alcohol solution. Any oil, dust, or residue left on the surface will prevent the decorative vinyl adhesive from bonding fully, leading to bubbles and edge lifting. After cleaning, allow the surface to dry completely before touching it again. For porous or rough surfaces, a light sanding followed by a primer coat creates a smooth base that gives decorative vinyl the best possible adhesion.
Temperature also matters when applying decorative vinyl. The ideal application temperature is between 15°C and 25°C. Applying decorative vinyl in cold conditions causes the adhesive to stiffen and reduces bonding strength. Applying decorative vinyl in excessive heat can make the film stretch unevenly. Working in a controlled indoor environment ensures that decorative vinyl goes down smoothly and stays flat.
Measuring and Cutting Decorative Vinyl Accurately
Accurate measurement is essential before cutting decorative vinyl. Measure your surface dimensions carefully and add at least 5 cm of overlap on each edge when cutting decorative vinyl panels. This overlap gives you room to adjust positioning before committing the adhesive fully. Use a sharp utility knife or precision cutting tool to cut decorative vinyl cleanly. Ragged edges on decorative vinyl panels will be visible after installation and will detract from the luxury finish you are working to achieve. For patterned decorative vinyl such as marble or wood grain, plan cuts in advance so that patterns align naturally across seams.
Step-by-Step Application Technique for Decorative Vinyl
The Wet or Dry Method for Decorative Vinyl
There are two main methods for applying decorative vinyl: the dry method and the wet method. The dry method involves peeling the backing off decorative vinyl and pressing it directly onto the surface, which works well for smaller panels and experienced installers. The wet method involves misting the surface lightly with a water-and-soap solution before laying decorative vinyl onto it. This technique gives you extra time to reposition decorative vinyl before the adhesive sets, making it far more forgiving for beginners and large installations. For luxury-look projects where pattern alignment is critical, the wet method is strongly recommended.
Smoothing and Finishing Decorative Vinyl Without Bubbles
Once decorative vinyl is positioned, use a squeegee or application card to push out air and water from the center of the panel toward the edges. Work slowly and systematically when smoothing decorative vinyl to avoid trapping air pockets. Apply firm, even pressure across the entire surface of the decorative vinyl film. For stubborn bubbles that remain after squeegeeing, use a fine pin to pierce the bubble, then press the decorative vinyl flat. Trim any excess decorative vinyl at the edges using a sharp blade guided by a metal ruler, keeping cuts tight and clean for a tailored, professional finish.
After installation, press the edges of decorative vinyl firmly with your fingertip or a soft cloth to ensure full adhesion. For heat-activated decorative vinyl, a low-heat hairdryer or heat gun applied briefly along the edges encourages the adhesive to bond completely. Avoid overheating decorative vinyl as this can distort the film or cause the pattern to warp. Allow the decorative vinyl to cure undisturbed for at least 24 hours before exposing it to moisture, heavy contact, or cleaning products.
FAQ
Can decorative vinyl be removed without damaging the surface?
Yes, most decorative vinyl products are designed to be removable, especially those with repositionable or low-tack adhesive. To remove decorative vinyl cleanly, apply gentle heat with a hairdryer to soften the adhesive, then peel the decorative vinyl back slowly at a low angle. Any adhesive residue left after removing decorative vinyl can be cleaned with isopropyl alcohol or a commercial adhesive remover without harming most surfaces.
How long does decorative vinyl last on interior surfaces?
High-quality decorative vinyl applied to a well-prepared surface typically lasts between five and ten years in interior applications. The lifespan of decorative vinyl depends on the quality of the film, the adhesive strength, and how the surface is maintained. Decorative vinyl in kitchens or bathrooms may have a shorter lifespan due to moisture and cleaning frequency, so choosing a moisture-resistant decorative vinyl grade for these areas is important.
Is decorative vinyl suitable for curved or uneven surfaces?
Decorative vinyl with cast film construction is specifically engineered to conform to curved, contoured, and slightly uneven surfaces. Standard calendered decorative vinyl works best on flat surfaces and may lift or crease when applied to curves. For surfaces with pronounced curves, applying decorative vinyl in smaller sections and using a heat gun to gently stretch and form the decorative vinyl around curves produces the cleanest result.